Product Detail
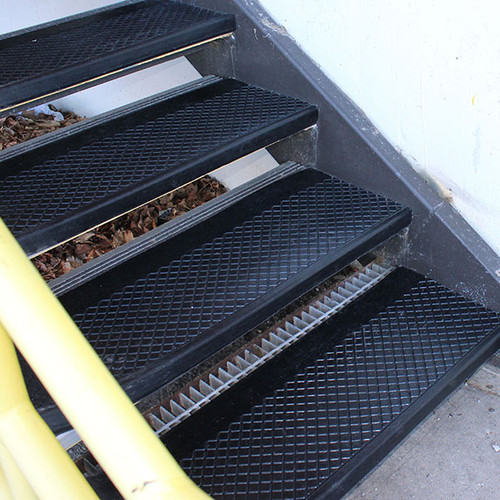
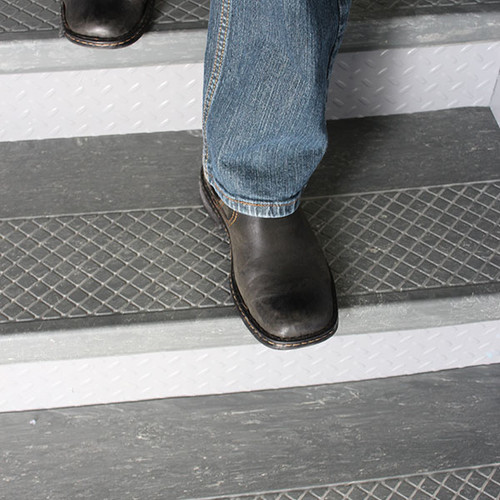
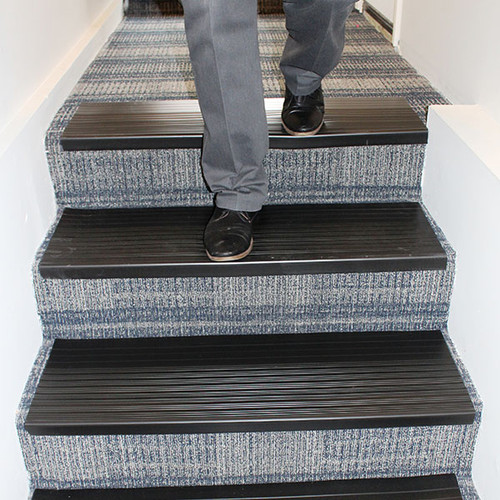
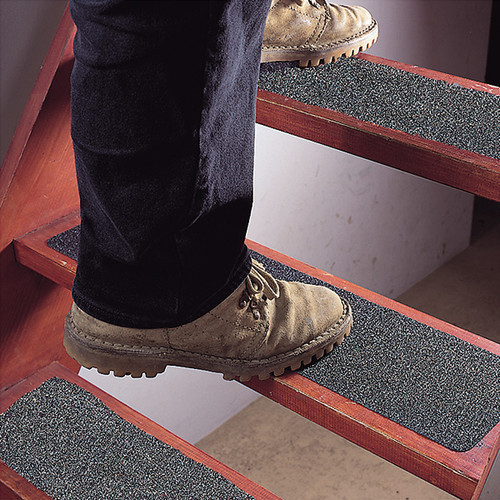
Excellent stair tread for outdoor applications. This tread is made from 100% recycled tires.
- Deep diamond design allows dirt to fall beneath the tread lines
- Rubber material provides excellent slip resistance
- Meets safety regulations: Fed Specs. RR-T-650E and ZZ-T-001237 (GSA-FSS)
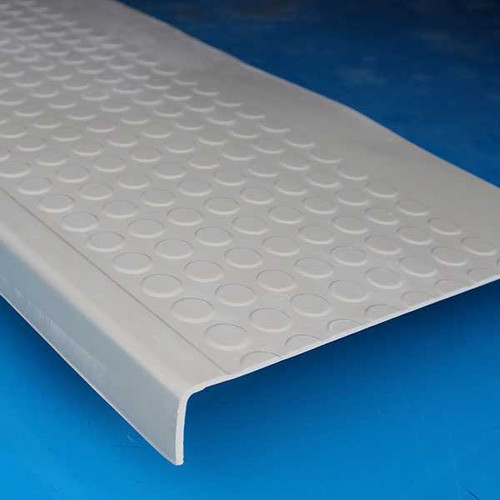
- Exterior Rubber Treads are 1/14" thick, 12 ½" deep, smooth rear border 3" deep, square nose 1 ½"
How to Apply
Where to Install
Install stair treads on any smooth dry interior step provided the shape of the step conforms to the underneath contour of the stair tread; particularly at the section where the flat part of the tread joins the nosing. A tight fit between stair treads and steps is essential.
Room Temperature
Materials, room and adhesives should be no less that 70°F 48 hours prior to, during and after installation.
Repairing Worn and Uneven Edges
Repair worn, uneven or misaligned edge of steps. It is essential that there is no space between the step and the stair tread when the installation is completed.
Preparation for Installation
Surfaces of steps must be level, clean, dry and free from oil, grease, rust, paint, varnish and old coverings, adhesives and any other foreign substance. Wooden steps should be thoroughly nailed down.
Worn or dished-out steps, cracks, holes, depression or any other irregularities on the step should be repaired by filling of sealing an smoothing with an underlayment compound, QuickFloor Curb and Step Repair.
Installation of Rubber Stair Treads
After the steps have been prepared and the stair treads cut and fitted, begin installation by spreading adhesive on the stair step completely covering the surface and the nosing.
When using contact adhesive, the adhesive should be spread on the bottom of the stair tread and completely underneath the nosing.
We suggest coating two steps and two treads at one time, then install the treads as described below. An alternate suggestion is to apply adhesive to every other step on a set of stairs, install these treads; go back and do the remainder.
Install Stair Treads
Set the stair tread into its proper position on the step, beginning at the nosing and pushing back firmly and as tightly as possible, holding up the back surface of the tread. After the nosing is completely in place, begin at the front and move back on the surface of the tread towards the riser, the tread should be pushing down firmly onto the step.
Excellent stair tread for outdoor applications. This tread is made from 100% recycled tires.
- Deep diamond design allows dirt to fall beneath the tread lines
- Rubber material provides excellent slip resistance
- Meets safety regulations: Fed Specs. RR-T-650E and ZZ-T-001237 (GSA-FSS)
- Exterior Rubber Treads are 1/14" thick, 12 ½" deep, smooth rear border 3" deep, square nose 1 ½"
Where to Install
Install stair treads on any smooth dry interior step provided the shape of the step conforms to the underneath contour of the stair tread; particularly at the section where the flat part of the tread joins the nosing. A tight fit between stair treads and steps is essential.
Room Temperature
Materials, room and adhesives should be no less that 70°F 48 hours prior to, during and after installation.
Repairing Worn and Uneven Edges
Repair worn, uneven or misaligned edge of steps. It is essential that there is no space between the step and the stair tread when the installation is completed.
Preparation for Installation
Surfaces of steps must be level, clean, dry and free from oil, grease, rust, paint, varnish and old coverings, adhesives and any other foreign substance. Wooden steps should be thoroughly nailed down.
Worn or dished-out steps, cracks, holes, depression or any other irregularities on the step should be repaired by filling of sealing an smoothing with an underlayment compound, QuickFloor Curb and Step Repair.
Installation of Rubber Stair Treads
After the steps have been prepared and the stair treads cut and fitted, begin installation by spreading adhesive on the stair step completely covering the surface and the nosing.
When using contact adhesive, the adhesive should be spread on the bottom of the stair tread and completely underneath the nosing.
We suggest coating two steps and two treads at one time, then install the treads as described below. An alternate suggestion is to apply adhesive to every other step on a set of stairs, install these treads; go back and do the remainder.
Install Stair Treads
Set the stair tread into its proper position on the step, beginning at the nosing and pushing back firmly and as tightly as possible, holding up the back surface of the tread. After the nosing is completely in place, begin at the front and move back on the surface of the tread towards the riser, the tread should be pushing down firmly onto the step.

